Get a first taste of what Mirage 5 has to offer.
1. Print templates
2. Template Editor
3. Free layout of files on the spread
4. Clear program interface
5. Improved print preview
6. File & Templates browser
7. Multiple print jobs at the same time
8. “Undo/Redo” function
9. Improved handling/placement of embedded logos
10. New tools for image editing
11. New print mode “Only Black Ink”
12. Settings option “Simulation”
13. Additional print marks
14. Support for current operating systems
Still using Mirage 4?
Visit our shop and upgrade your license to the new Mirage 5.
Please note that there is a charge for the upgrade.
To the shop
1) Print templates
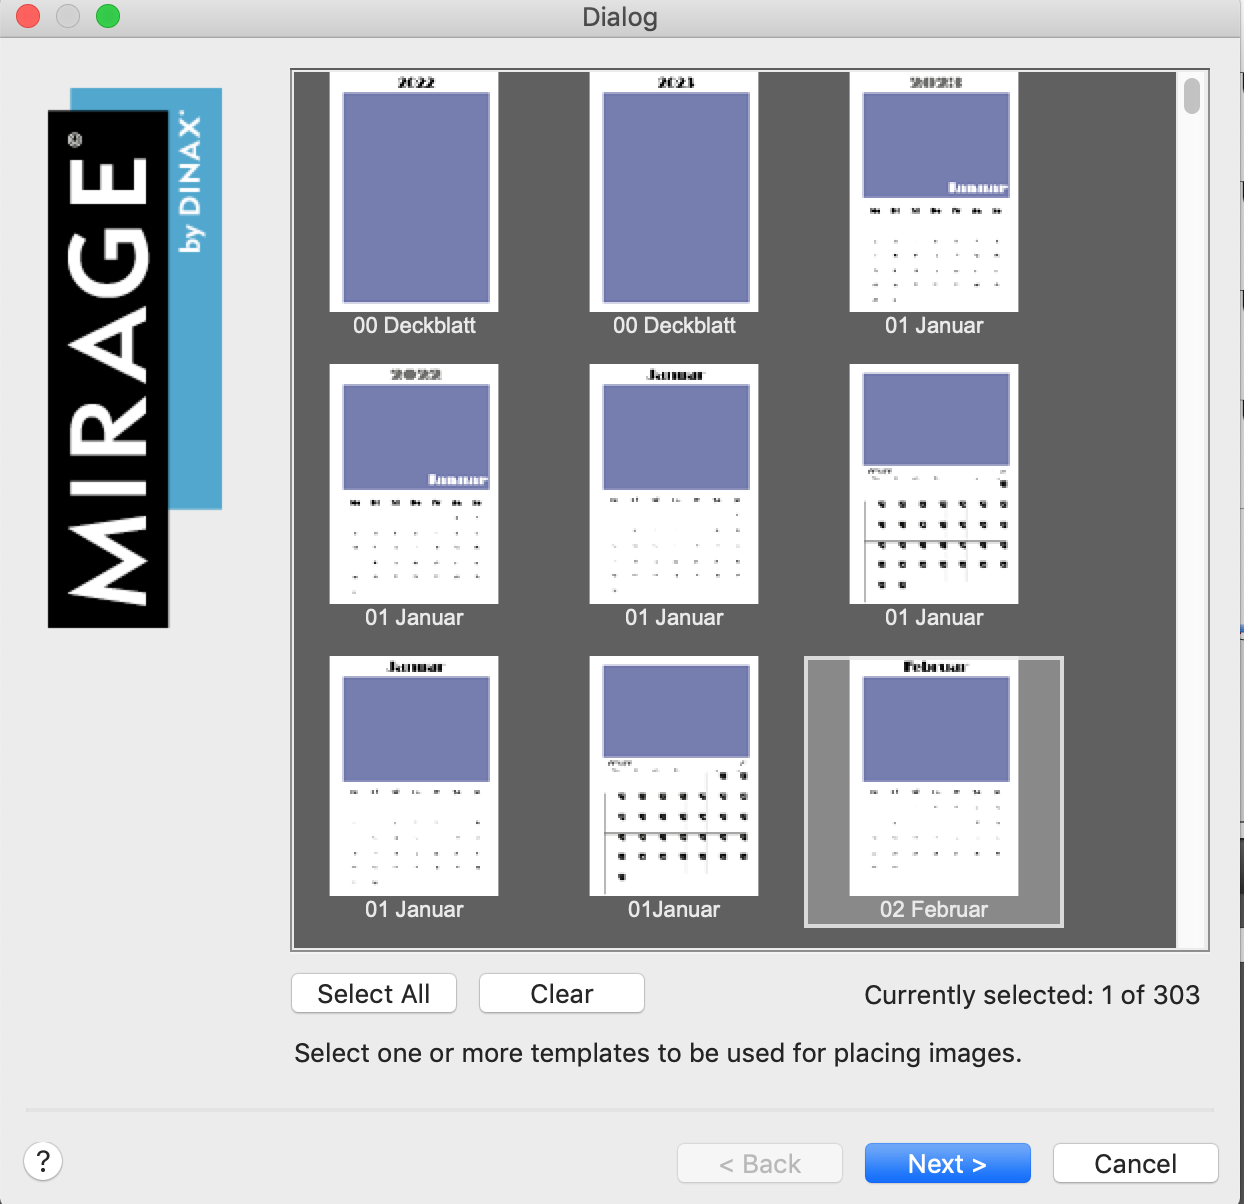
Templates are elements designed specifically to be filled with images. Templates contain slots. A slot is a square area in which an image can be placed. The images can be freely rotated and placed within the slots. Slots can overlap in part or in full, and be sorted in their position upwards or downwards as required.
Each slot is automatically assigned a number. Slots can be automatically filled with images in the Template’s browser as required. The same number can be assigned to multiple slots. If there are multiple slots with the same number and an image is dragged into one of these slots, all slots with the same number
will be automatically filled with the same image – ideal, for example, for passport and application photos.
“Masks” give users a number of image design options.
Masks are pixel or vector images that describe which parts of the slots will be printed. Of course, print layouts you create yourself can be converted
into “templates” and saved.
Mirage 5 features a number of different templates.
2) Template Editor
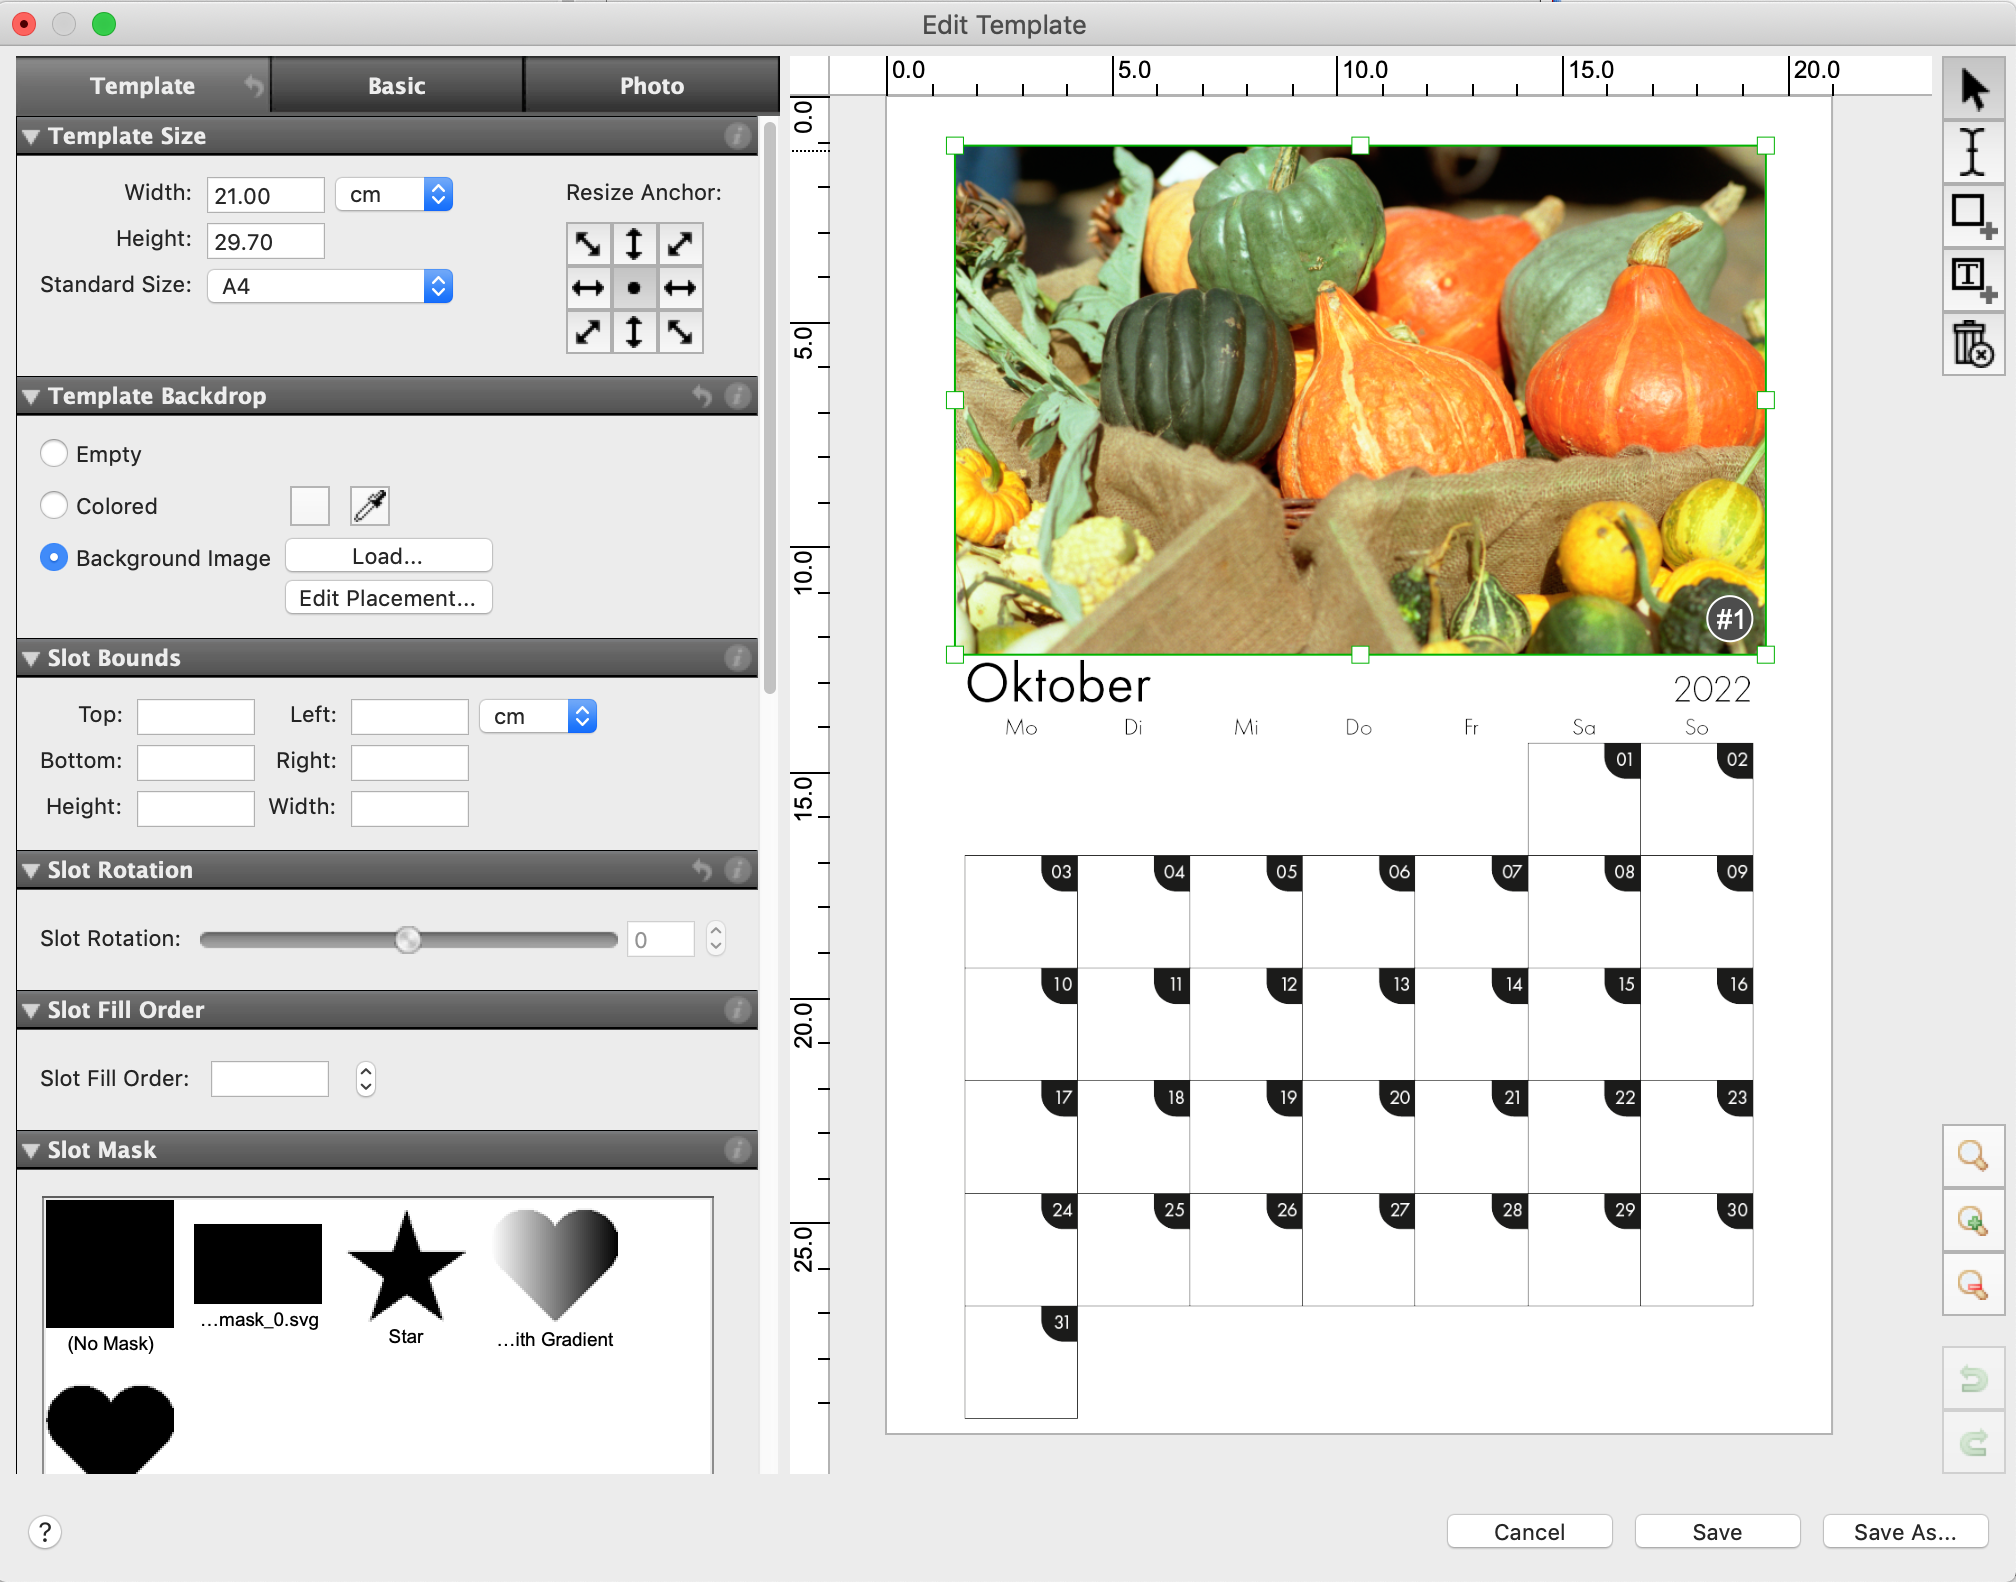
You can use the newly developed Template Editor to design your own creative and labor-saving print templates. Mirage’s ingenious operating concept
– with functions specially designed for creating templates – is naturally reflected in the Template Editor.
Here are a few examples of the functions:
In addition to the monochrome backgrounds, the settings for the “Template Background” allow you to select your own image files as a background.
You can edit the size and layout of the slots in the “Slot Frame” settings option. Select the slot you want to edit in order to adjust the slot frame.
You can use the “Slot Image Scale” settings to specify how the image files are scaled when inserted into the slot, e.g., proportional filling, etc.
You can use the “Slot Mask” settings to insert individual masks for every slot.
Click on the info button in the settings options or refer to the manual for more information on the settings options.
3. Free layout of files on the spread
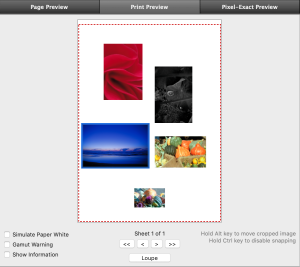
In Mirage 5, images can now be freely and independently moved around/arranged on the spread. Because images can overlap, there are many new design options available to you,
allowing you, for example, to create collages and much more. This is particularly useful when designing multipage documents (photo albums, etc.). There are no limits to your creativity.
“Layouts” created in this way can be converted into a template – with a simple click – and used again at any time.
4. Clear program interface
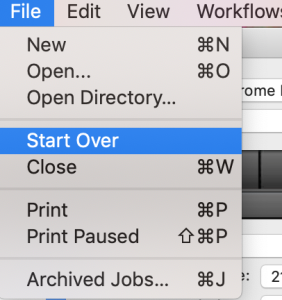
We have tidied up Mirage. The new program interface of Mirage 5 renders the previous window “Drop Files Here” superfluous. Simply drag your files to the “Print Preview” area of the Mirage window. The revised menu bar properly organizes all functions into groups. The “Mirage Job Archive” has also been integrated here. As a result, the previously independent program for managing
previous print jobs is no longer required. Changes to the settings dialog, e.g., adjustment/positioning of images, can now also be undone step by step as required. For instance, if you want to remove all files from the Mirage window without closing Mirage itself, you can use the menu item “File ⇒ Start Over”. As a result, not only are all copies removed from the printable area, but also all loaded documents.
5) Improved print preview
The clear print preview now always shows all print pages beside each other in a scrollable area. You can use the buttons “<<”, “<”, “>”, “>>” to move forward or back or to the start/end of the pages.

6) File & Templates browser
The File & Templates browser offers a much improved overview of uploaded image files and new templates. You can select, place, search, and change image files in the preview size as required. In addition, the “Filter” function offers a quick search, e.g., according to “already placed”, “not placed”, “portrait”, “landscape”, etc. Further images or templates can be placed into the printable area via drag and drop.

7) Multiple print jobs at the same time
With Mirage 5, for the first time, you can create as many print j obs as you want and prepare them separately. You can create a new print job via “File –> New” in the menu bar. Of course, you can also delete jobs that you have started, or that have already been printed. The new flexibility allows you to “pause” more complex jobs during t heir preparation in order to quickly print another file “in the meantime”.
8) “Undo/Redo” function
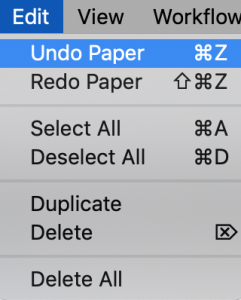
The last changes applied (e.g., in the settings dialog or by manually moving an image in the layout) can be undone as required. To this end, use the corresponding entries in the“ Edit” menu or the standard keyboard shortcuts (e.g.,“ Ctrl Z” & “Shift Ctrl Z”). Once a print job is sent, the “Print” button changes to “Print Again” provided that no changes have been made.
9) Improved handling/placement of embedded logos
If you want to integrate your own logos into print files, you can scale and freely move the logos in the print and page preview simply using your mouse. To this end, place the cursor over a manually embedded logo in order to display/use the corresponding “handles”.
10) New tools for image editing
”Blur”
There is a new panel under the “Photo” tab if you want to apply Gaussian “blurring” to images.
Please use the “Pixel-Exact Preview” to properly assess the strength of the effect.
“Drop Shadow”
The new panel is located under the “Extra” tab. Images can be printed with a drop shadow. You can choose the color of the shadow using a color chooser or pipet (as with colored borders). The drop shadow parameters can be set using sliders:
• Opacity
• Direction (in degrees, relative to the rotated image, i.e., the alignment of the shadow stays the
same even if the image is printed with rotation)
• Softness of the shadow
• Offset between shadow and image
11) New print mode “Only Black Ink”
Some printer models offer a “Black” print mode. When you use this mode, only black ink (no gray ink) is used in the print job. This mode is only available with certain printer models and with certain paper/ink combinations.

12) Settings option “Simulation”
For special applications, experienced users may want to be able to simulate on their printer how the print will look on another printer, for example. This “proofing” function, as it is known, is now a component of all Mirage 5 versions. The “Simulation” settings option can be found under the “Extra” tab. You can select all CMYK profiles available on your system as simulation profiles.

13) Additional print marks
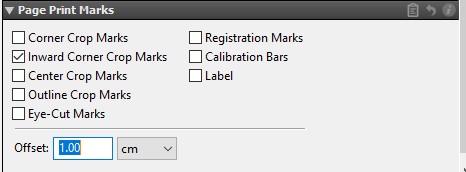
In the “Print Marks” settings menu, you have the option of moving crop marks “inwards” via “Inset…” to help prevent white overlaps. In the new menu “Page Print Marks”, Mirage 5 allows you to create marks for the entire spread in addition to the usual print marks (crop marks per image, etc.). If, for example, two images are placed on the spread, then the new page print marks, will be placed precisely around these two images. Of course, the gaps to the image can be set according to individual requirements.
The settings option “Page Print Marks” is hidden by default and can be made visible by right-clicking on the settings groups.
14) Support for current operating systems
Mirage 5 supports current operating systems such as macOS 13 (Ventura), Windows 11, and Adobe CC 2023. To install Mirage 5, your computer must run on Windows 10 or macOS High Sierra at minimum. For more information on Mirage 5 and affordable upgrades from Mirage 4 to the current version, please visit our website: dinax.com
Important note: Support for Mirage 4.x will end on 12/31/2023!
